Step-By-Step Guide to Wet Blocking
If this is your first time blocking we recommend practicing these techniques on a sample square swatch to get a feel of how your fibre will behave and how the steps below function. If you are doing so in preparation of blocking a finished piece it's a good idea to use the same yarn used in your project to ensure they behave the same.
Additionally, if you are blocking a garment that is already seamed together to try it on prior to blocking to take note of the fit and if you would like to stretch its size a little.
Step 1: Wash & Soak (Wet Blocking)
Fill a basin for wet blocking—deep enough to submerge the piece.
Check the yarn label for temperature (e.g., cool water under 30 °C).
Add a rinse-free wool wash such as Soak for gentle cleaning and softness. If using a non–rinse-free wash, rinse once or twice after soaking.
Gently press under water to release air; don’t agitate.
Soak 20 minutes to fully hydrate the fibres—the foundation of good blocking for knitting and crochet.
Lift & de-water
Scoop the fabric out (don’t let it hang).
Press, don’t wring. Lay on a towel, cover with another, and roll to remove excess water.
Step 2: Pin & Shape on Blocking Mats
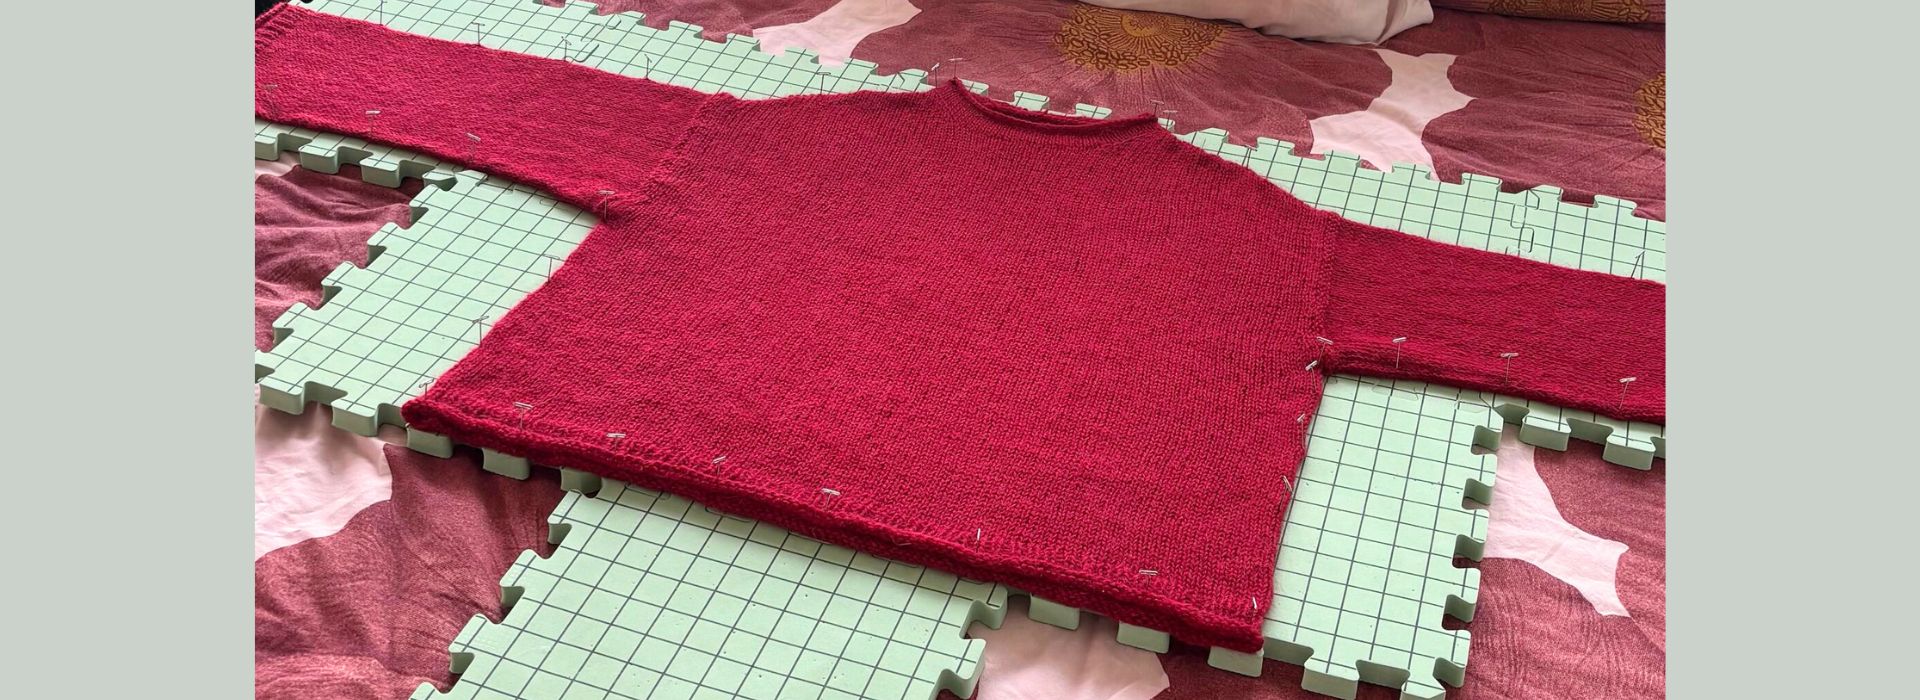
Move to interlocking blocking mats in a ventilated spot.
Smooth to the desired shape and pin edges at regular intervals to avoid scallops.
For straight edges, use KnitPro Knit Blockers; add blocking wires for crisp shawl points and seams.
Check measurements against the pattern—this is how to block a sweater, blanket, or shawl to size.
Dry Completely
Leave flat to dry (overnight or longer, weather-dependent).
Ensure it’s dry top and bottom before unpinning—some bounce-back is normal with wool.
Aftercare
The fabric may relax over 24 hours. Store folded to keep edges neat and the drape consistent.
Steam Blocking (Option)
Ideal for fibres that dislike soaking. Light steam blocking over the pinned piece, let it dry fully, then unpin.
After you've blocked your project it is time to enjoy all the hard earned hours you’ve poured into your piece and wear it proudly! Do you enjoy blocking your finished items? Let us know in the comments below and any questions you may have. We also love to see items made from our yarns so please feel free to send us pictures or tag us on instagram!

